はじめに
2017年3月、Raspberry PIXEL for PC が気に入って、いろいろなPCで動作させています。
- 2017年1月 Onkyo NX707A4 : Atomプロセッサー Z520 メモリ 1GB
- 2017年2月 Sizka BASIC : AMD GeodeTM LX800 メモリ 512MB
- 2017年3月 SUMICOM S600 : Pentium 4 メモリ 512MB
今回は、SUMICOM S600です。
SUMICOM S600 PC
最初に、USBフラッシュメモリからブートして動作することを確認しました。
今回は、USBフラッシュメモリで動作しているOSイメージをハードディスクにコピーすることにより、HDDからブートさせることができました。
クイックサン製のSUMICOM S600
SUMICOM S600 は、クイックサンが発売したSocket 478対応のベアボーンキットです。このPCを2004年頃に購入しました。
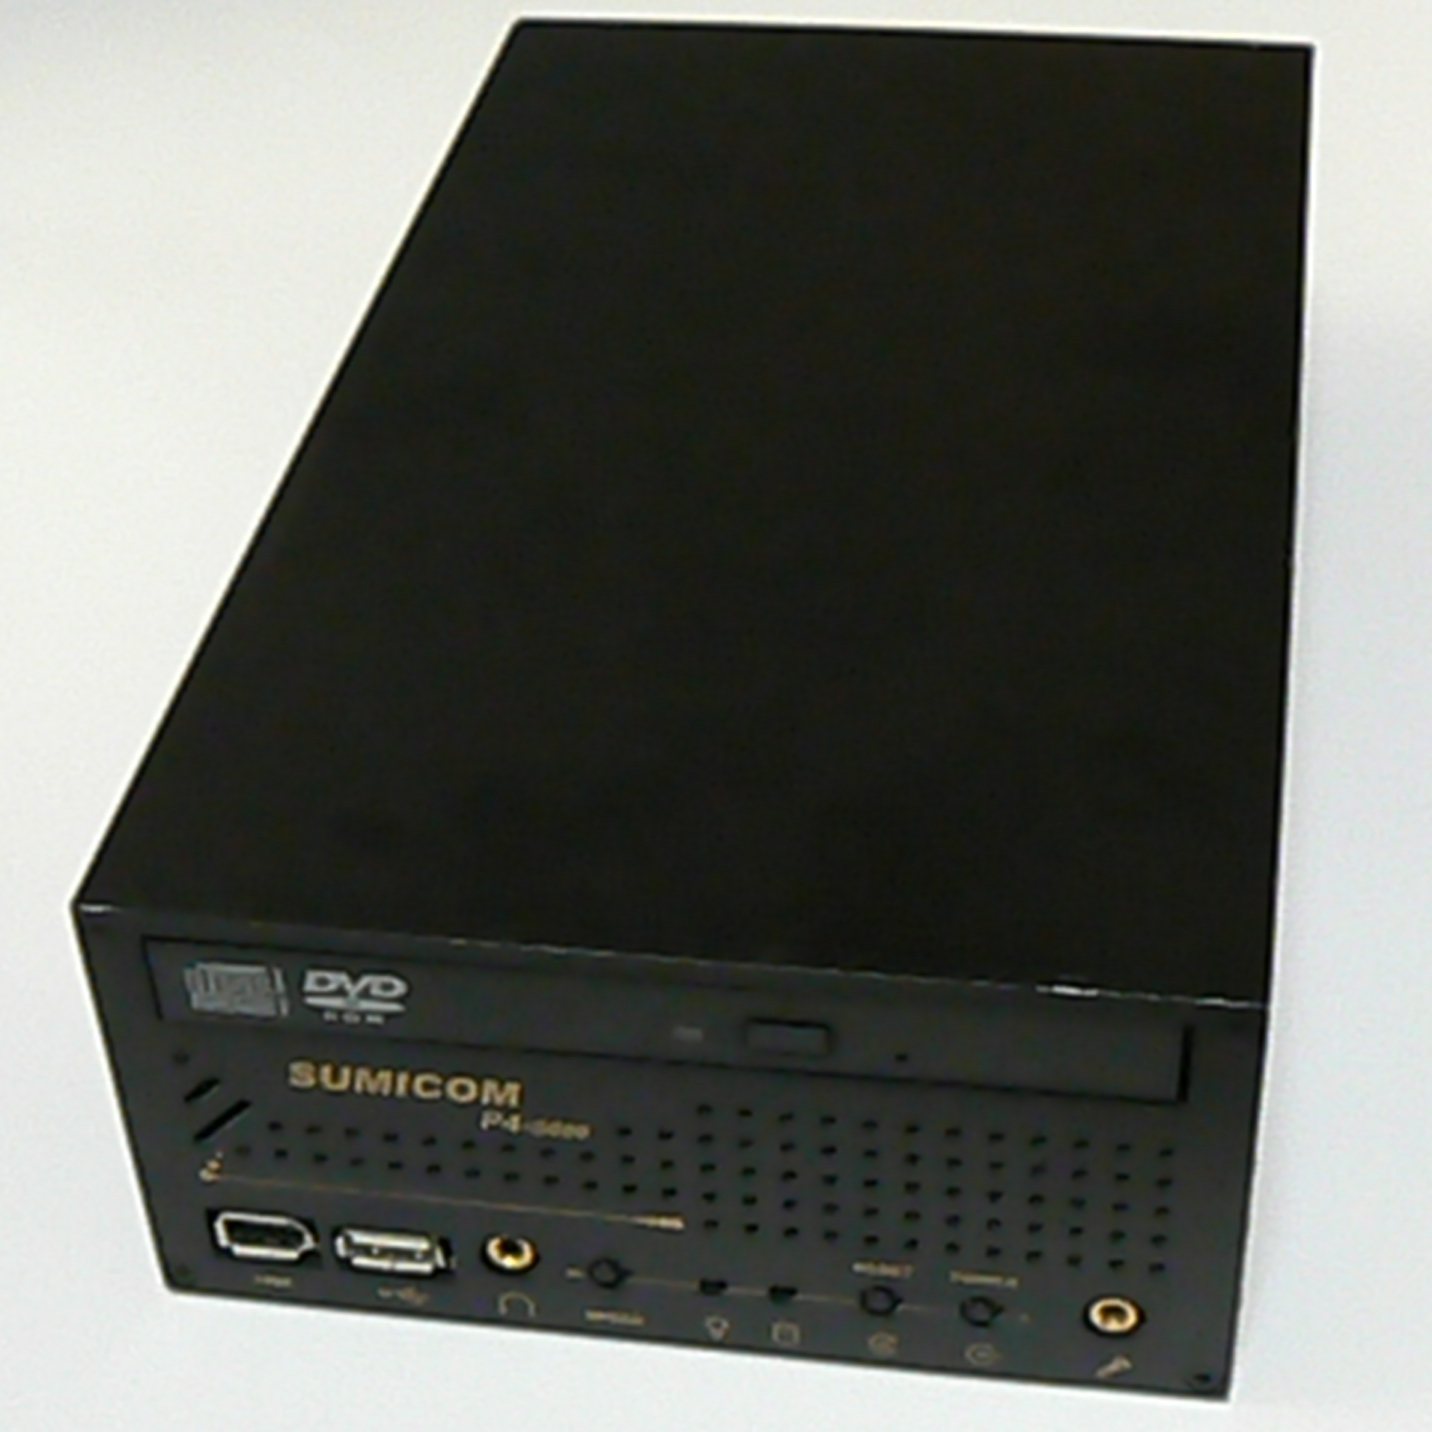
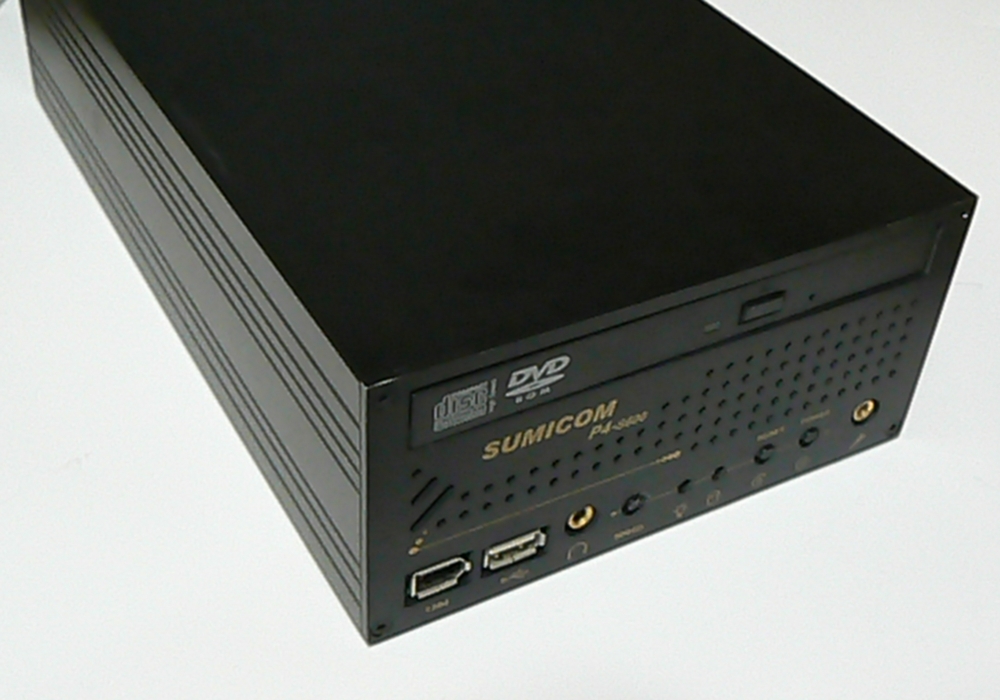
S600 PC 全体像
サイズが 148(W)×71(H)×254(D)mmと、当時としてはとても小型のPCです。ベアボーンキットですので、CPUとメモリとハードディスクとDVDドライブを追加して組み立てました。
-

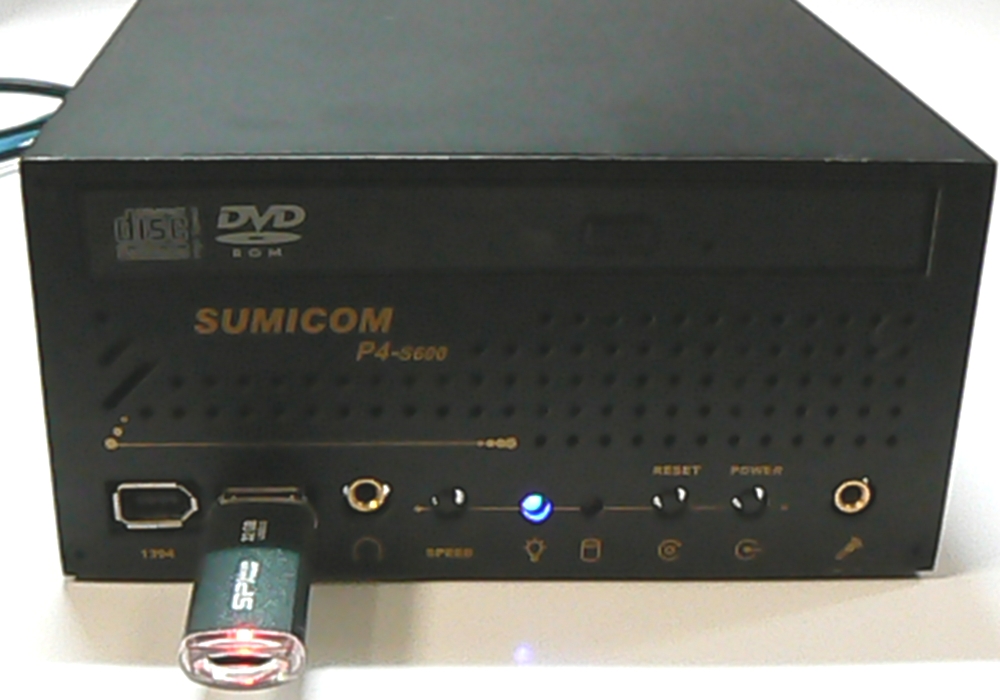
- S600 PC 前面
-

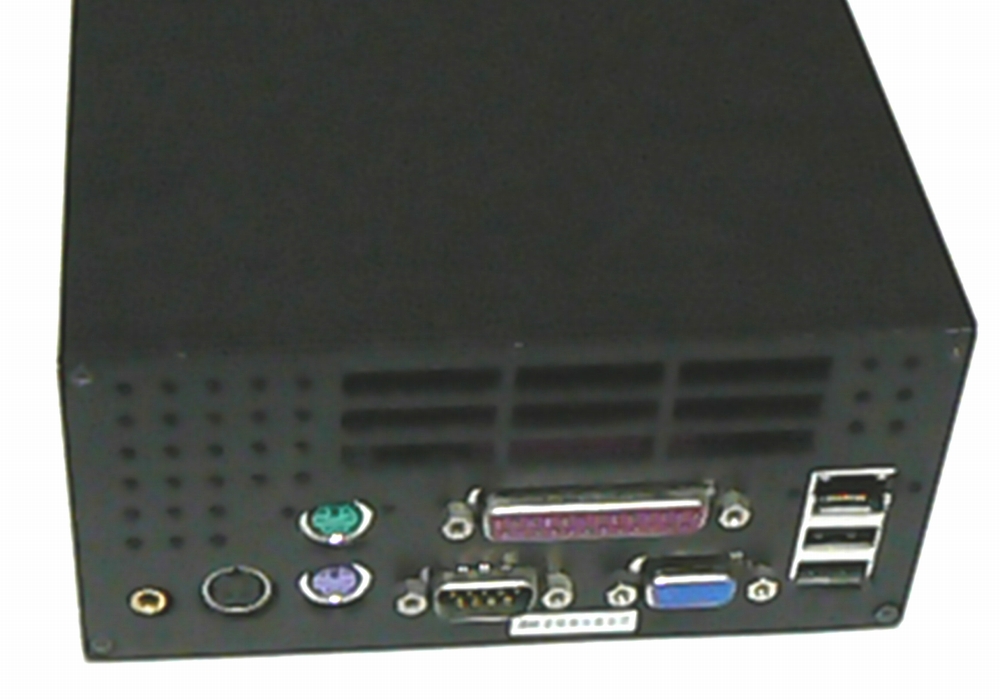
- S600 PC 背面
-

- S600 PC 内部

-

- S600 PC 内部
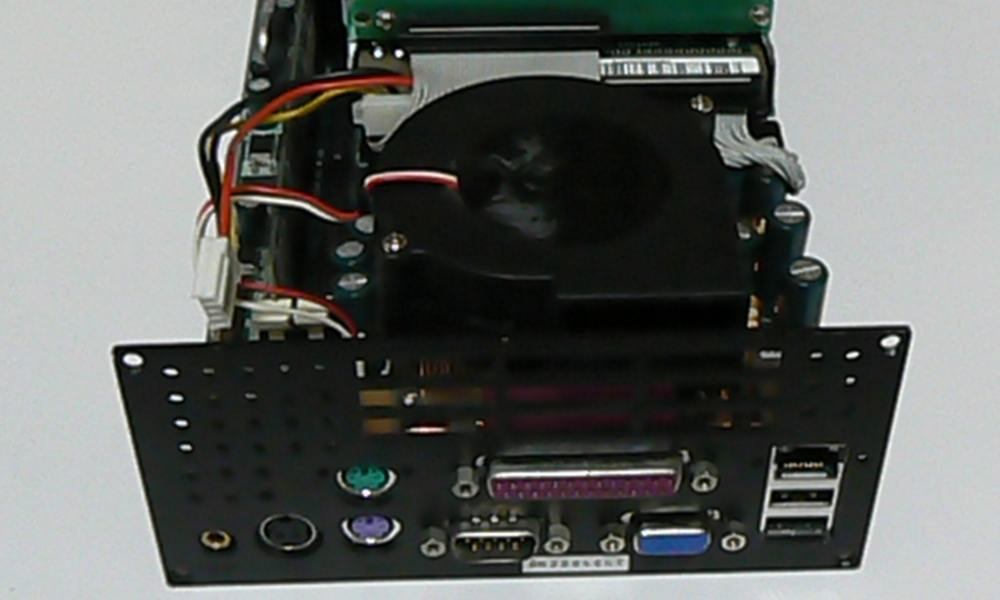
このPCは、Windows XPをインストールして使用していましたが、Windows XPのサポート終了により使用していませんでした。
Raspberry PIXEL for PCを知って、このS600をよみがえさせることにしました。
- CPU : Intel Pentium 4 2.40GHz
- メモリ : DDR SDRAM 512MB
- HDD : 120GB
Raspberry PIXELをUSBフラッシュメモリから起動
公式サイトからISOイメージ(2016-12-13-pixel-x86-jessie.iso)をダウンロードします。
Etcherツールを使用して、OSイメージをUSBフラッシュメモリに書き込みます。
① SELECT IMAGE で、ISOイメージを選択します
② SELECT DRIVE で、SSDドライブを選択します
③ FLASH IMAGE で、イメージの書き込みを開始します
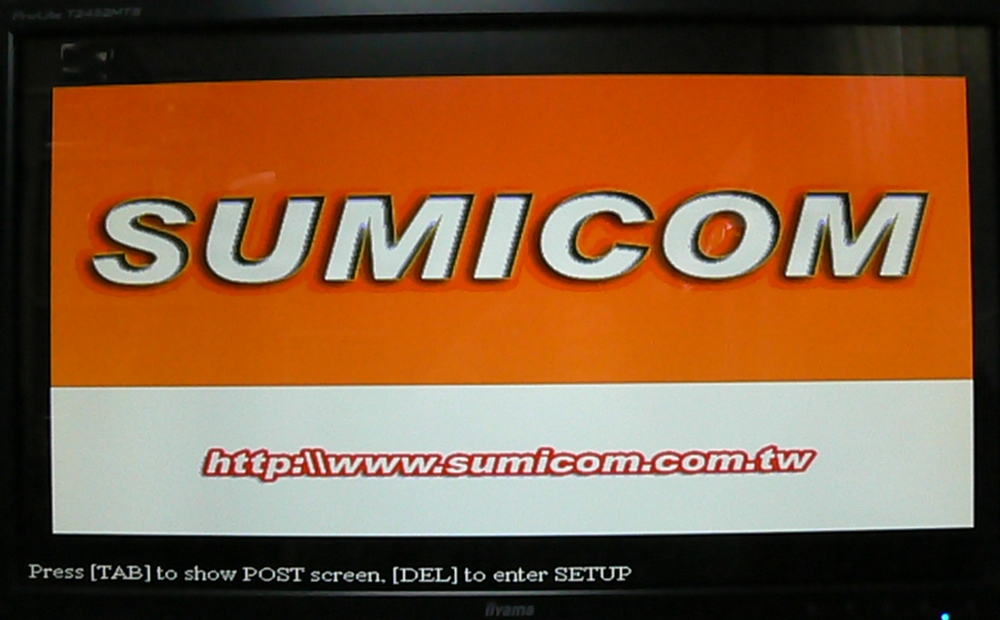
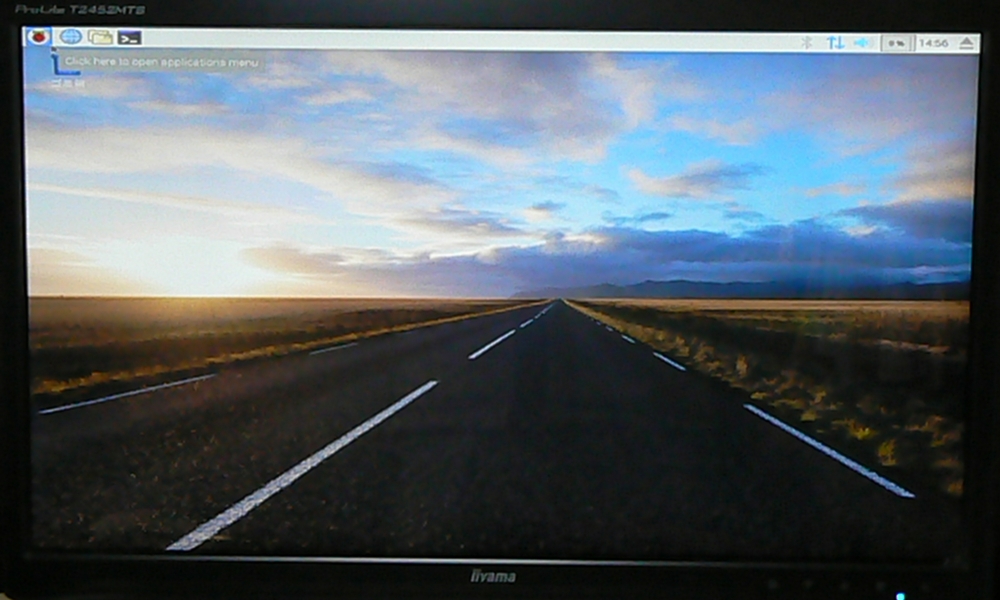
ブート設定をUSB-HDDにして電源を投入して、ブート画面が表示されます。しばらくすると見慣れた Raspbian jessie のデスクトップが表示されました。
-

- S600 Boot
-

- S600 Pixel Boot
Raspberry PIXELをHDDにインストール
SUMICOM S600 PCのハードディスクの容量は120GBありますので、ハードディスクにOSイメージを入れてHDD起動できないものかと考えました。
ネット検索したら、公式サイトのBLOGに「How to: Install to HDD」という記載がありました。

Pixel for PC BLOG
この記載を参考にして、HDD起動に成功しました。
■ 1) fdisk コマンドでデバイスの状態を確認します。
sudo fdisk -l

Disk /dev/sda: 111.8 GiB, 120060444672 bytes, 234493056 sectors
Units: sectors of 1 * 512 = 512 bytes
Sector size (logical/physical): 512 bytes / 512 bytes
I/O size (minimum/optimal): 512 bytes / 512 bytes
Disk /dev/sdb: 28.9 GiB, 31004295168 bytes, 60555264 sectors
Units: sectors of 1 * 512 = 512 bytes
Sector size (logical/physical): 512 bytes / 512 bytes
I/O size (minimum/optimal): 512 bytes / 512 bytes
Disklabel type: dos
Disk identifier: 0x0eddfb88

Device Boot Start End Sectors Size Id Type
/dev/sdb1 * 64 2709119 2709056 1.3G 17 Hidden HPFS/NTFS
/dev/sdb2 2709504 60555263 57845760 27.6G 83 Linux

Disk /dev/loop0: 1.2 GiB, 1297825792 bytes, 2534816 sectors
Units: sectors of 1 * 512 = 512 bytes
Sector size (logical/physical): 512 bytes / 512 bytes
I/O size (minimum/optimal): 512 bytes / 512 bytes
/dev/sda は、120GBのハードディスクでパーティションは無い状態です。
/dev/sdb は、USBフラッシュメモリです。2つのパーティションから構成しています。
- /dev/sdb1 : ブート用のHidden HPFS/NTFS領域
- /dev/sdb2 : Linux領域
■ 2) ddコマンドで、USBフラッシュメモリをハードディスクにコピーします
$ sudo dd if=/dev/sdb of=/dev/sda bs=512k
59136+0 レコード入力
59136+0 レコード出力
31004295168 バイト (31 GB) コピーされました、 2692.01 秒、 11.5 MB/秒
ddコマンドで、if=USBフラッシュメモリ、of=ハードディスクドライブを指定します。コピーするだけですが、約45分もかかりました。
■ 3) fdisk コマンドでデバイスの状態を確認します。
$ sudo fdisk -l

Disk /dev/sda: 111.8 GiB, 120060444672 bytes, 234493056 sectors
Units: sectors of 1 * 512 = 512 bytes
Sector size (logical/physical): 512 bytes / 512 bytes
I/O size (minimum/optimal): 512 bytes / 512 bytes
Disklabel type: dos
Disk identifier: 0x0eddfb88

Device Boot Start End Sectors Size Id Type
/dev/sda1 * 64 2709119 2709056 1.3G 17 Hidden HPFS/NTFS
/dev/sda2 2709504 60555263 57845760 27.6G 83 Linux

Disk /dev/sdb: 28.9 GiB, 31004295168 bytes, 60555264 sectors
Units: sectors of 1 * 512 = 512 bytes
Sector size (logical/physical): 512 bytes / 512 bytes
I/O size (minimum/optimal): 512 bytes / 512 bytes
Disklabel type: dos
Disk identifier: 0x0eddfb88

Device Boot Start End Sectors Size Id Type
/dev/sdb1 * 64 2709119 2709056 1.3G 17 Hidden HPFS/NTFS
/dev/sdb2 2709504 60555263 57845760 27.6G 83 Linux

Disk /dev/loop0: 1.2 GiB, 1297825792 bytes, 2534816 sectors
Units: sectors of 1 * 512 = 512 bytes
Sector size (logical/physical): 512 bytes / 512 bytes
I/O size (minimum/optimal): 512 bytes / 512 bytes
ハードディスク /dev/sda は、USBフラッシュメモリ /dev/sdb と同じパーティション構成となりました。
■ 4) fdisk コマンドでパーティション2を拡張します。
$ sudo fdisk /dev/sda

Welcome to fdisk (util-linux 2.25.2).
Changes will remain in memory only, until you decide to write them.
Be careful before using the write command.
pコマンドでパーティション2の開始位置をメモします。
Command (m for help): p
Disk /dev/sda: 111.8 GiB, 120060444672 bytes, 234493056 sectors
Units: sectors of 1 * 512 = 512 bytes
Sector size (logical/physical): 512 bytes / 512 bytes
I/O size (minimum/optimal): 512 bytes / 512 bytes
Disklabel type: dos
Disk identifier: 0x0eddfb88

Device Boot Start End Sectors Size Id Type
/dev/sda1 * 64 2709119 2709056 1.3G 17 Hidden HPFS/NTFS
/dev/sda2 2709504 60555263 57845760 27.6G 83 Linux
/dev/sda2の開始位置は、2709504です。
dコマンドでパーティション2を一時的に削除します。
Command (m for help): d
Partition number (1,2, default 2): 2

Partition 2 has been deleted.
nコマンドでパーティション2を元と同じ位置(2709504)から作成します。
primaryタイプで、サイズは+64Gとしました。
Command (m for help): n
Partition type
p primary (1 primary, 0 extended, 3 free)
e extended (container for logical partitions)
Select (default p): p
Partition number (2-4, default 2): 2
First sector (2709120-234493055, default 2709504): 2709504
Last sector, +sectors or +size{K,M,G,T,P} (2709504-234493055, default 234493055): +64G

Created a new partition 2 of type 'Linux' and of size 64 GiB.
pコマンドでパーティション2が64GBに拡張したことを確認します。
Command (m for help): p
Disk /dev/sda: 111.8 GiB, 120060444672 bytes, 234493056 sectors
Units: sectors of 1 * 512 = 512 bytes
Sector size (logical/physical): 512 bytes / 512 bytes
I/O size (minimum/optimal): 512 bytes / 512 bytes
Disklabel type: dos
Disk identifier: 0x0eddfb88

Device Boot Start End Sectors Size Id Type
/dev/sda1 * 64 2709119 2709056 1.3G 17 Hidden HPFS/NTFS
/dev/sda2 2709504 136927231 134217728 64G 83 Linux
wコマンドで、パーティションを書き込みます。
Command (m for help): w
The partition table has been altered.
Calling ioctl() to re-read partition table.
Syncing disks.
■ 5) HDDから再起動します。
HDDにOSイメージを書き込んだので、HDDからブートします。
$ suso do /sbin/shutdown -r now
無事、HDDからRaspberry PIXELが起動しました。
■ 6) HDDのパーティション2を変更したので、resize2fsコマンドで拡張します。
$ sudo resize2fs /dev/sda2
resize2fs 1.42.12 (29-Aug-2014)
Filesystem at /dev/sda2 is mounted on /lib/live/mount/persistence/sda2; on-line resizing required
old_desc_blocks = 2, new_desc_blocks = 3
The filesystem on /dev/sda2 is now 9428832 (4k) blocks long.
これで、Raspberry PIXELをHDDにインストールして、HDDブートできるようになりました。
homeディレクトリをマウント
ハードディスクの容量は120GBあります。未使用の領域を/homeディレクトリにマウントして、/homeの容量を拡張します。
■ 1) fdisk コマンドでパーティション3を作成します。
$ sudo fdisk /dev/sda

Welcome to fdisk (util-linux 2.25.2).
Changes will remain in memory only, until you decide to write them.
Be careful before using the write command.
pコマンドでパーティションの状態を確認します。
Command (m for help): p
Disk /dev/sda: 111.8 GiB, 120060444672 bytes, 234493056 sectors
Units: sectors of 1 * 512 = 512 bytes
Sector size (logical/physical): 512 bytes / 512 bytes
I/O size (minimum/optimal): 512 bytes / 512 bytes
Disklabel type: dos
Disk identifier: 0x0eddfb88

Device Boot Start End Sectors Size Id Type
/dev/sda1 * 64 2709119 2709056 1.3G 17 Hidden HPFS/NTFS
/dev/sda2 2709504 136927231 134217728 64G 83 Linux
nコマンドでパーティション3を作成します。
primaryタイプで、サイズはハードディスクの最後までとします。
Command (m for help): n
Partition type
p primary (2 primary, 0 extended, 2 free)
e extended (container for logical partitions)
Select (default p): p
Partition number (3,4, default 3): 3
First sector (2709120-234493055, default 136927232):
Last sector, +sectors or +size{K,M,G,T,P} (136927232-234493055, default 234493055):

Created a new partition 3 of type 'Linux' and of size 46.5 GiB.
pコマンドでパーティションの状態を確認します。
Command (m for help): p
Disk /dev/sda: 111.8 GiB, 120060444672 bytes, 234493056 sectors
Units: sectors of 1 * 512 = 512 bytes
Sector size (logical/physical): 512 bytes / 512 bytes
I/O size (minimum/optimal): 512 bytes / 512 bytes
Disklabel type: dos
Disk identifier: 0x0eddfb88

Device Boot Start End Sectors Size Id Type
/dev/sda1 * 64 2709119 2709056 1.3G 17 Hidden HPFS/NTFS
/dev/sda2 2709504 136927231 134217728 64G 83 Linux
/dev/sda3 136927232 234493055 97565824 46.5G 83 Linux
wコマンドで、パーティションを書き込みます。
Command (m for help): w
The partition table has been altered.
Calling ioctl() to re-read partition table.
Syncing disks.
■ 2) /dev/sda3 をext4でフォーマットします。
$ sudo mkfs.ext4 /dev/sda3
mke2fs 1.42.12 (29-Aug-2014)

Creating filesystem with 12195728 4k blocks and 3049648 inodes
Filesystem UUID: 7cfab33a-2b64-4b40-b802-2a846a9dabbf
Superblock backups stored on blocks:
32768, 98304, 163840, 229376, 294912, 819200, 884736, 1605632, 2654208,
4096000, 7962624, 11239424

Allocating group tables: done
Writing inode tables: done
Creating journal (32768 blocks): done
Writing superblocks and filesystem accounting information: done
■ 3) /dev/sda3 を手動マウント
マウントポイントを作成します。
$ sudo mkdir /mnt/wk
/dev/sda3 を /mnt/wk に手動でマウントします。
$ sudo mount -t ext4 /dev/sda3 /mnt/wk
ext4でマウントしたことを確認します。
$ sudo mount -t ext4
/dev/sda2 on /lib/live/mount/persistence/sda2 type ext4 (rw,noatime,data=ordered)
/dev/sda3 on /mnt/wk type ext4 (rw,relatime,data=ordered)
■ 4) /home の内容コピー
/home/* を /dev/sda3 にコピーします。
$ sudo cp -pr /home/* /mnt/wk
コピーしたことを確認します。
$ ls -l /mnt/wk
合計 20
drwx------ 2 root root 16384 3月 3 11:41 lost+found
drwxr-xr-x 17 pi pi 4096 3月 3 11:32 pi
■ 5) /dev/sda3 マウント解除
マウントを解除します。
$ sudo umount /mnt/wk
/dev/sda3がマウントされていないことを確認します。
$ sudo mount -t ext4
/dev/sda2 on /lib/live/mount/persistence/sda2 type ext4 (rw,noatime,data=ordered)
■ 6) ブート時に自動マウントの設定をします。
/etc/fstab に自動マウントの設定を書き込みます。
$ sudo cat /etc/fstab
# UNCONFIGURED FSTAB FOR BASE SYSTEM
aufs / aufs rw 0 0
tmpfs /tmp tmpfs nosuid,nodev 0 0
/dev/sda3 /home ext4 defaults 0 0
■ 7) 再起動します。
$ sudo /sbin/shutdown -r now
■ 8) 自動マウントの確認をします。
$ sudo mount -t ext4
/dev/sda2 on /lib/live/mount/persistence/sda2 type ext4 (rw,noatime,data=ordered)
/dev/sda3 on /home type ext4 (rw,relatime,data=ordered)

$ df /home
ファイルシス 1K-ブロック 使用 使用可 使用% マウント位置
/dev/sda3 47886236 62528 45368180 1% /home
/home 領域は、/dev/sda3 に確保していることがわかります。
最後に
Raspberry PIXEL for PCをSUMICOM S600のHDDにインストールして、HDDブートに成功しました。
また、120GBのハードディスク容量がありますので、いろいろと実験できそうです。
/home も別パーティションで容量を拡張しましたので、いろんなプログラムを開発しても容量的に余裕です。
Raspberry PIXEL for PCでプログラム開発してから、raspberry PI にもっていく方法もありますね。