
WSL UbuntuにTeXLiveをインストール
WSL Ubuntu18.04にTeXをインストール
2019年1月、WSL Ubuntu18.04にTeX Live2018をインストールしました。使用したWindows10は、Windows 10 Home バージョン1803です。Ubuntuは、18.04.1です。
$ uname -a
Linux RZ82 4.4.0-17134-Microsoft #471-Microsoft Fri Dec 07 20:04:00 PST 2018 x86_64 x86_64 x86_64 GNU/Linux
$ lsb_release -a
No LSB modules are available.
Distributor ID: Ubuntu
Description:    Ubuntu 18.04.1 LTS
Release:        18.04
Codename:       bionic
Windows10にWSL(Windows Subsystem for Linux) Ubuntu18.04環境をインストールして使用しています。
Windowsドライブのマウント
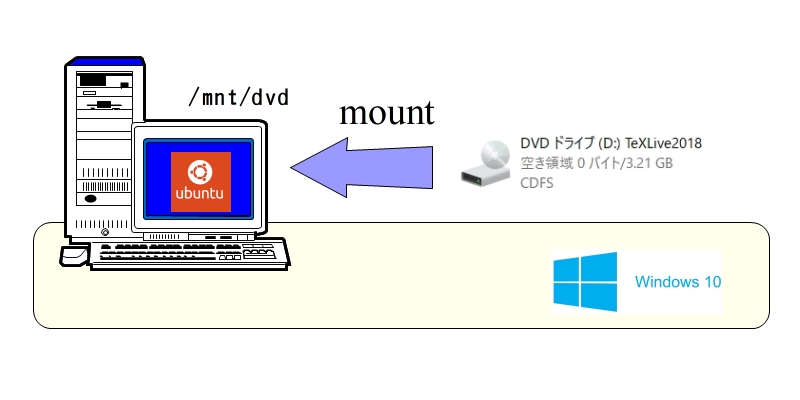
スタンドアローンのLinuxならば、DVDをマウントしてインストールすれば良いです。しかし、Windows10の上で動作しているWSL Ubuntu18.04環境にDVDをマウントするにはどうしたら良いのでしょうか?
WSL Ubuntuは、起動時にWindowsの固定ディスクを自動的にマウントして、「/mnt/c」でWindowsドライブにアクセスできました。DVDなどのリムーバブルドライブは自動マウントしませんので、手動でマウントすれば良いのです。
WSL Ubuntu DVDマウント
WindowsのDドライブ(DVDドライブ)にTeXインストール用のTeXLive2018 DVDを装着します。

TeXLive2018 DVD
TeXLive2018のディレクトリーを確認します。
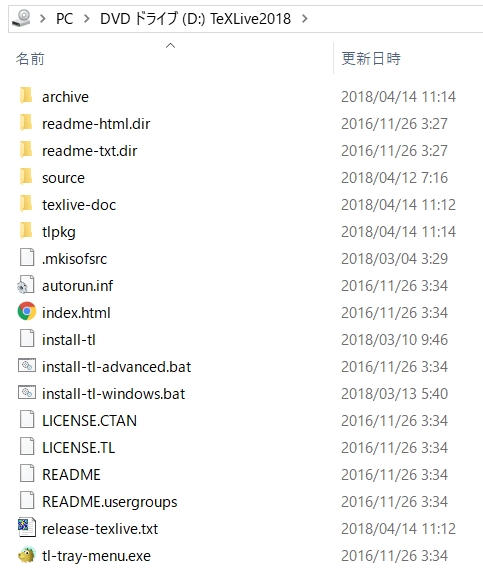
TeXLive2018 ディレクトリー
WSL Ubuntuでマウントポイント(マウント先のディレクトリー)を作成します。慣習により/mnt/dvdディレクトリーを作成します。
$ sudo mkdir /mnt/dvd
[sudo] pi のパスワード:

$ ls /mnt
c dvd
WindowsのDドライブを/mnt/dvdにマウントします。
$ sudo mount -t drvfs D: /mnt/dvd
mount: /mnt/dvd: WARNING: device write-protected, mounted read-only.
WindowsのDドライブがWSL Ubuntuから/mnt/dvdでアクセスできるようになりました。
$ ls /mnt/dvd
LICENSE.CTAN       archive      install-tl-advanced.bat  release-texlive.txt  tlpkg
LICENSE.TL         autorun.inf  install-tl-windows.bat   source
README             index.html   readme-html.dir          texlive-doc
README.usergroups  install-tl   readme-txt.dir           tl-tray-menu.exe
ボリュームのアンマウントは、umountコマンドで行えます。インストールが完了した後に行うので、今は実行しません。
$ sudo umount /mnt/dvd
$ ls -l /mnt/dvd
合計 0
TeXLiveのインストール
TeXをインストールします。
install-tl スクリプトを実行します。
$ sudo ./install-tl
Loading ./tlpkg/texlive.tlpdb
Installing TeX Live 2018 from: . (verified)

   ・・・(省略)

Actions:
 <I> start installation to hard disk
 <P> save installation profile to 'texlive.profile' and exit
 <H> help
 <Q> quit
Enter command:
「Actions:」に対して、インストール開始の”I”を入力します。そうすると、その端末のアーキテクチャーに合ったパッケージをインストールします。
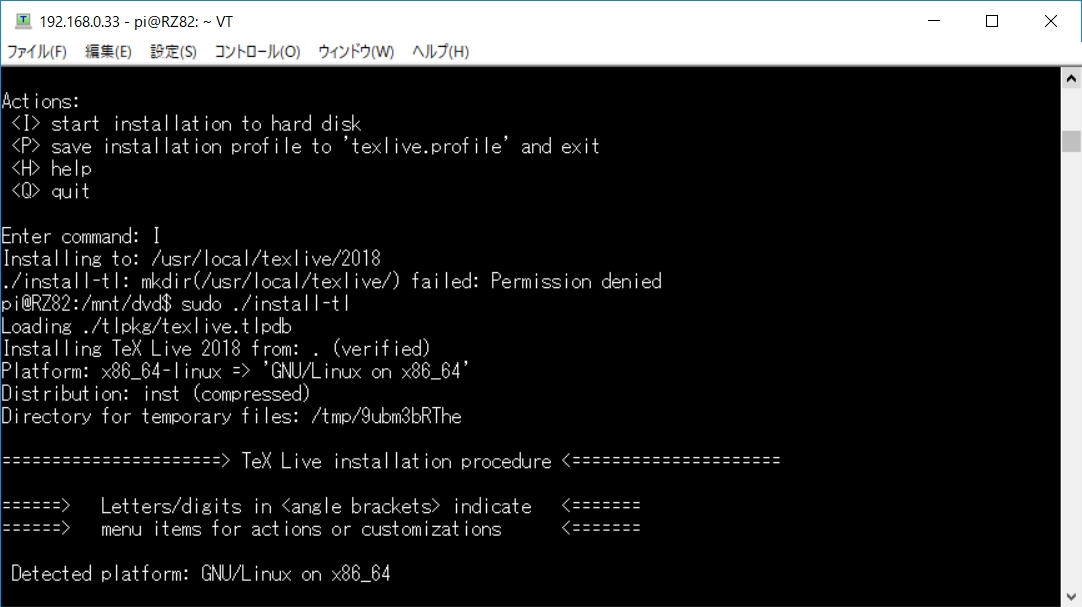
TeXLiveインストール 「I」応答
TeXは大きなシステムなのでインストールに時間がかかります。私のPCで約71分かかりました。
Enter command: I
Installing to: /usr/local/texlive/2018
Installing [0001/3590, time/total: ??:??/??:??]: 12many [376k]

   ・・・(省略)

Installing [3590/3590, time/total: 01:11:38/01:11:38]: zxjatype [142k]
Time used for installing the packages: 71:39

   ・・・(省略)

Welcome to TeX Live!


See /usr/local/texlive/2018/index.html for links to documentation.
The TeX Live web site (http://tug.org/texlive/) contains any updates and
corrections. TeX Live is a joint project of the TeX user groups around the
world; please consider supporting it by joining the group best for you. The
list of groups is available on the web at http://tug.org/usergroups.html.


Add /usr/local/texlive/2018/texmf-dist/doc/man to MANPATH.
Add /usr/local/texlive/2018/texmf-dist/doc/info to INFOPATH.
Most importantly, add /usr/local/texlive/2018/bin/x86_64-linux
to your PATH for current and future sessions.
PATHを設定します。TeXは、「/usr/local/texlive/2018/bin/x86_64-linux」にインストールしました。
$ cd
$ sudo /usr/local/texlive/2018/bin/x86_64-linux/tlmgr path add
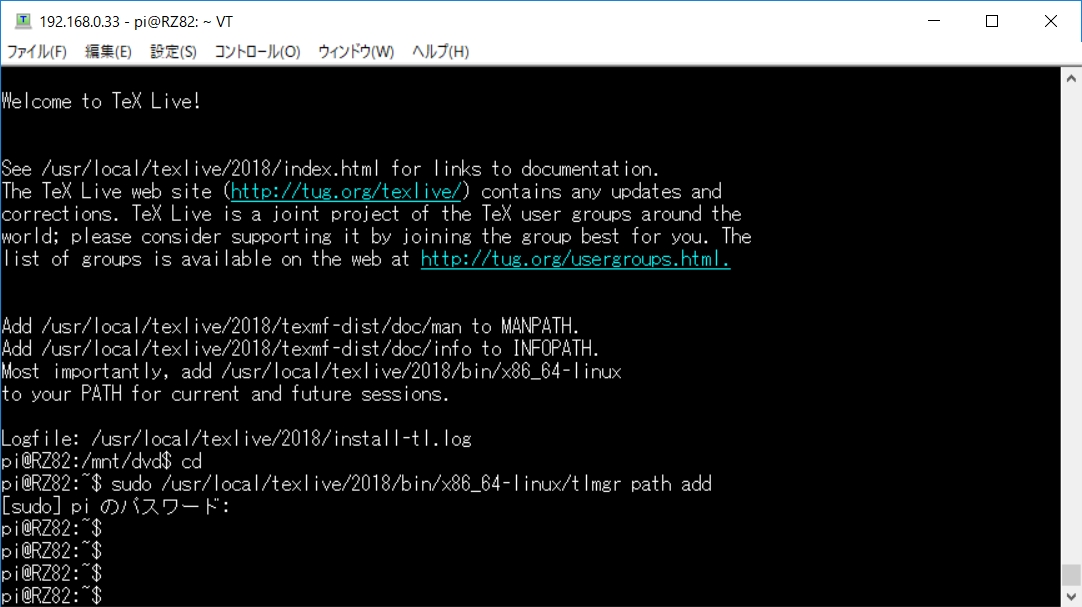
TeXLiveインストール パス設定
TeXのバージョンを確認します。
pi@RZ82:~$ tex -version
TeX 3.14159265 (TeX Live 2018)
kpathsea version 6.3.0
Copyright 2018 D.E. Knuth.
There is NO warranty.  Redistribution of this software is
covered by the terms of both the TeX copyright and
the Lesser GNU General Public License.
For more information about these matters, see the file
named COPYING and the TeX source.
Primary author of TeX: D.E. Knuth.
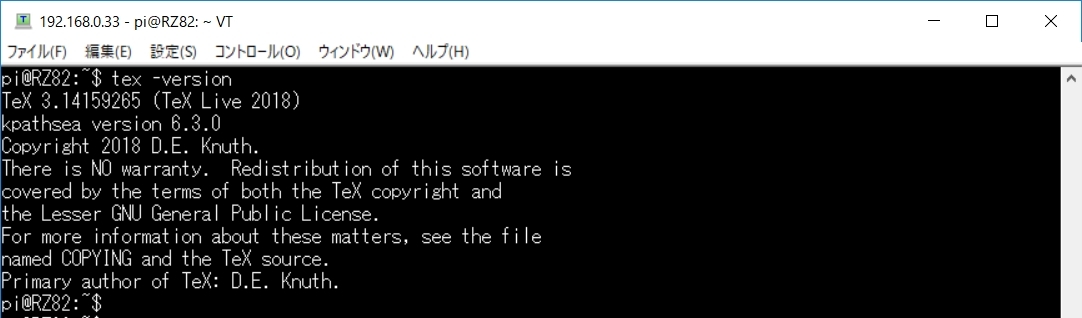
TeXLiveバージョン
最後に
Windows10のWSL Ubuntu18.04環境にTeXをインストールしました。DVDのマウント方法が分かれば、インストールは簡単でした。